Or: Why Your Warbler Shouldn’t Glow Like a Glow Stick
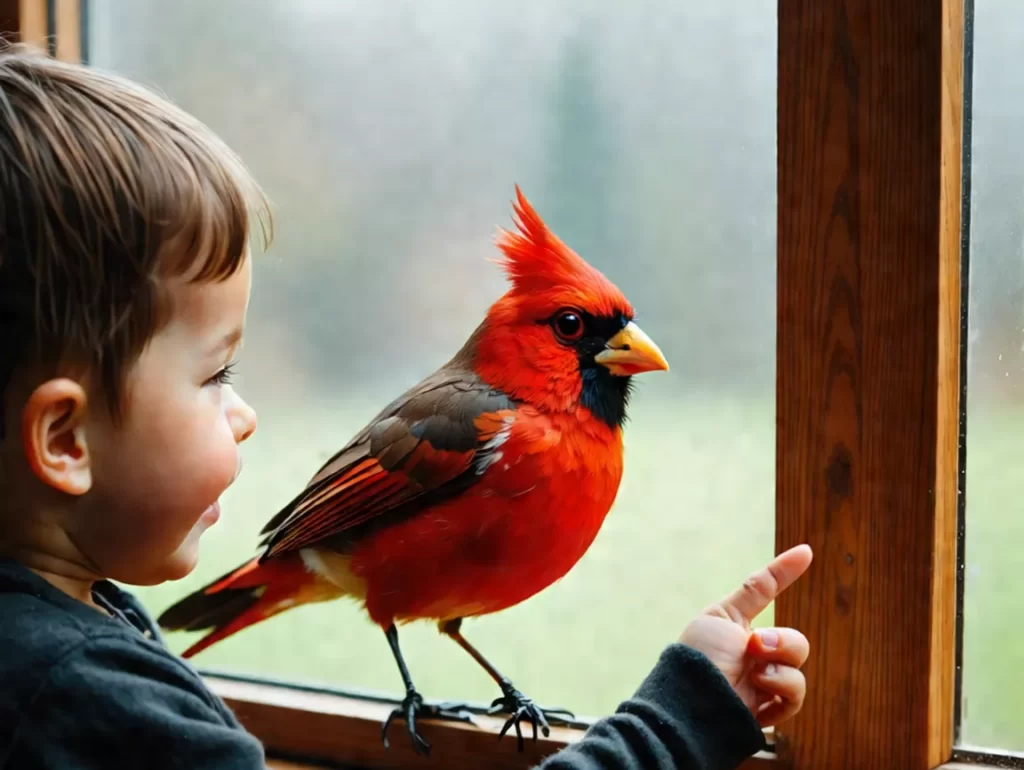
So you’ve nailed the perfect bird shot—tack-sharp, great pose, and you even managed to avoid cropping off the tail this time. You pull it into your favorite photo editor, crank up the vibrance, add some contrast, maybe a dash of clarity—and suddenly, your Northern Cardinal looks like it just escaped from Chernobyl.
Editing bird photos is an art… and also a trap. One click too far and your elegant Great Egret turns into an angry marsh ghost, or your bluebird ends up bluer than a Smurf with a sunburn. But fear not! We’re here to help you find that golden middle ground between National Geographic and laser light show.
Why Bird Photo Editing Matters (and When It Goes Off the Rails)
Editing bird photos is essential. Cameras don’t always capture what your eyes saw—especially with backlit birds, dense brush, or overcast skies. A bit of post-processing can bring back lost detail, recover highlights, and help the bird pop. But editing should enhance the photo, not announce it like a Vegas billboard.
Common signs of over-editing:
- Feathers look crunchy or metallic
- Backgrounds become unnaturally smooth or blotchy
- Shadows turn jet black
- Reds, yellows, and blues are screaming
- You feel the need to say, “Well, it looked kind of like that in person…”
Let’s fix that.
Step-by-Step: Editing Bird Photos Without Regret
We’re going to use Lightroom Classic as our editing reference, but these same principles apply whether you’re using Luminar, Capture One, ON1, or even Photoshop.
Step 1: Start with a Clean RAW Image
Always shoot in RAW if you can. JPEGs are fine in a pinch, but they bake in a lot of settings and leave you with less flexibility. RAW files give you much more wiggle room—kind of like stretchy pants after Thanksgiving dinner.
Step 2: White Balance – Don’t Let Your Snowy Egret Look Like It’s Been in a Tanning Bed
Auto white balance is good… until it isn’t. Feathers are notoriously hard for cameras to evaluate. A pure white bird in morning sun may come out looking jaundiced.
- Adjust manually or use a white feather or gray perch as a neutral reference.
- Cool it down if things look too warm. Warm it up if it looks like your bird is made of ice.
Pro tip: Watch the background, too. If your bird looks fine but the whole forest now feels like a sepia-toned dream, back off a bit.
Step 3: Exposure and Contrast – The Holy Duo
Birds often have high-contrast plumage—blacks, whites, reds, etc.—so tread carefully here.
- Exposure: Increase gently if the bird is too dark, but don’t blow out the whites.
- Contrast: Add a bit for pop, but don’t overdo it or you’ll lose feather detail.
- Use the Highlights and Shadows sliders instead of just cranking up contrast. You’ll maintain more nuance.
Step 4: Clarity, Texture, and Dehaze – Use Like Hot Sauce: Sparingly
These sliders are often abused with enthusiasm and good intentions.
- Clarity: Adds midtone contrast. Great for bark, bad for feathers. Use lightly.
- Texture: Better for feathers than Clarity. Still—don’t max it out unless your bird is made of chainmail.
- Dehaze: Use only if your photo was taken through mist, glare, or your windshield. Otherwise, it makes things muddy.
Rule of thumb: If your bird starts looking like it’s been through a sandblaster, you’ve gone too far.
Step 5: Vibrance and Saturation – Don’t Cook the Cardinal
This is where most birders lose control. A little vibrance adds life; too much makes your cardinal glow like an alien beacon.
- Vibrance: Boosts muted colors. +10 to +20 is plenty.
- Saturation: Boosts everything. Rarely needed for birds. If you use it, keep it under +5—or consider therapy.
- For reds, go to the HSL panel and selectively tone down Red and Orange luminance or saturation if your cardinal starts to look nuclear.
Bonus tip: Many birds, especially males, already have very saturated colors. Don’t compete with them. Compliment them.
Step 6: Noise Reduction and Sharpening – A Balancing Act
Zoom in 100% and check your image.
- Use Noise Reduction if your ISO was above 1600, but don’t make your bird look waxy.
- Sharpening: A moderate amount (~70 in Lightroom) is fine. Mask it to the edges by holding Alt and dragging the Masking slider.
You want crisp, not crusty.
Step 7: Crop Thoughtfully
Don’t decapitate your bird. Don’t crop so tight it looks like a mugshot.
- Leave space in front of where the bird is facing or flying.
- Rule of thirds is a good starting point.
- Don’t upsize a tiny crop just to get closer—it’ll turn into a pixel party real fast.
Cardinal Case Study: From Radioactive to Refined
Let’s say you took a lovely shot of a male Northern Cardinal on a perch. The light was good, but the original shot looked a bit flat.
Here’s a bad edit progression:
- Exposure +1.5 (blows out white highlights)
- Contrast +50 (crunches shadows)
- Vibrance +60 (turns cardinal into molten lava)
- Clarity +40 (feathers now resemble rusty wire)
- Saturation +30 (background is a neon mess)
And here’s the better approach:
- Exposure +0.3 (just enough)
- Shadows +25, Highlights -15
- Vibrance +12
- Texture +10
- HSL panel: Red Saturation -5, Orange Luminance +10 (to tone the cardinal down just a hair)
Now he looks real. Beautiful. Still vibrant—but not ready to power a flashlight.
Final Thoughts: Edit With Love, Not Lazers
The best bird edits make the image feel natural, alive, and true to the moment. You want the viewer to say, “Wow, I wish I’d seen that!”—not “What app did you use to make it glow like that?”
Treat your edits like you treat seasoning in cooking: subtle, balanced, and respectful to the subject. Because birds, in all their glorious detail and color, really don’t need much help. They’re already nature’s masterpieces.
Coming Soon on TexasBirder.com:
“How to Photograph Birds in Bad Light Without Crying”
Until then—edit gently, shoot boldly, and may your cardinals always look pleasantly red.
— The Texas Birder Team

More Stories
How to Photograph Birds in Bad Light Without Crying
How to Customize Your Nikon Z9/Z8 for Bird-in-Flight Shots
How to Set Back Button Focus – Nikon Z9 and Z8